



How To Do A Smoky Eye With Warm Tones (Without Looking Muddy)
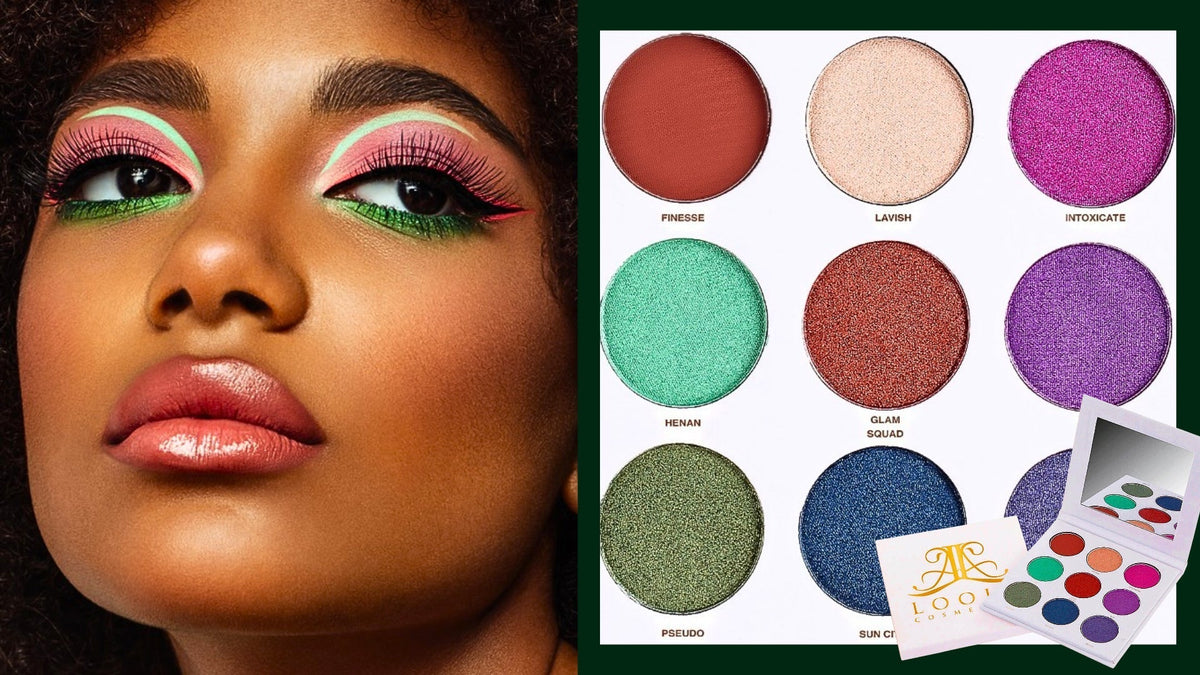
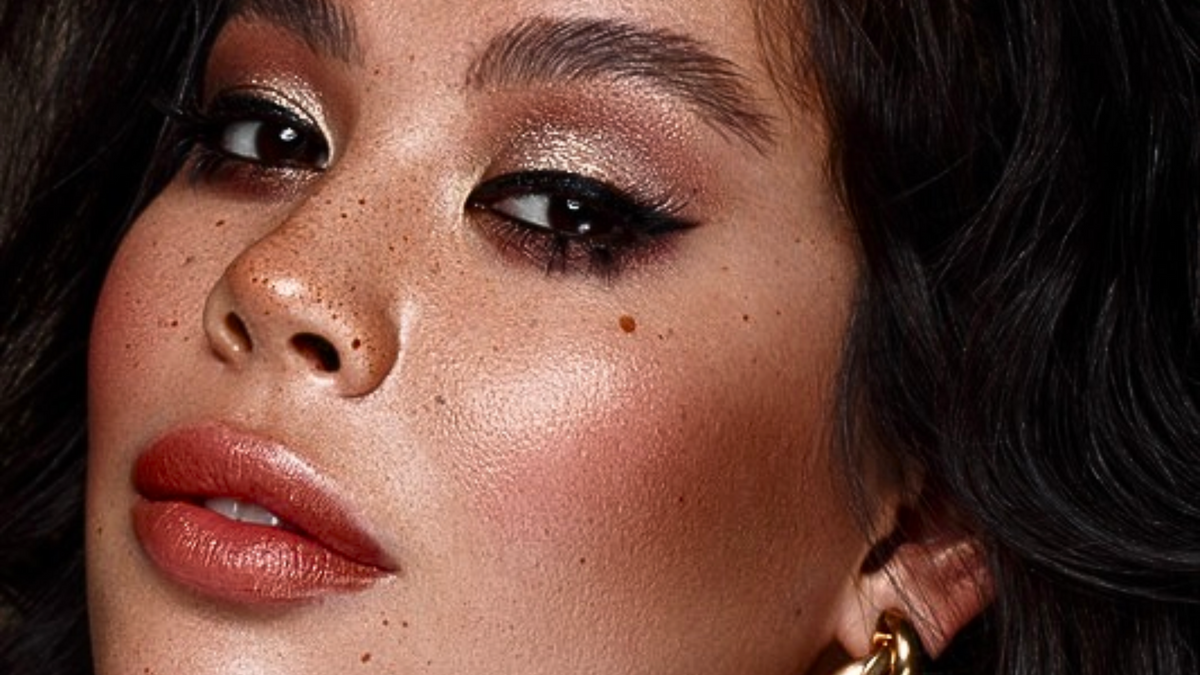
You spend ten minutes blending, step back to check the mirror, and somehow end up with a flat brown smudge instead of the soft, warm-toned smoky eye you had in mind. If that sounds familiar, you're not bad at makeup. You're just missing the order things should go in. A warm smoky eye is supposed to look rich and lived-in, bronze, copper, a little amber pooling in the crease. What actually shows up for a lot of people is closer to a bruise. Same idea, wrong execution, and usually the wrong product count.
|
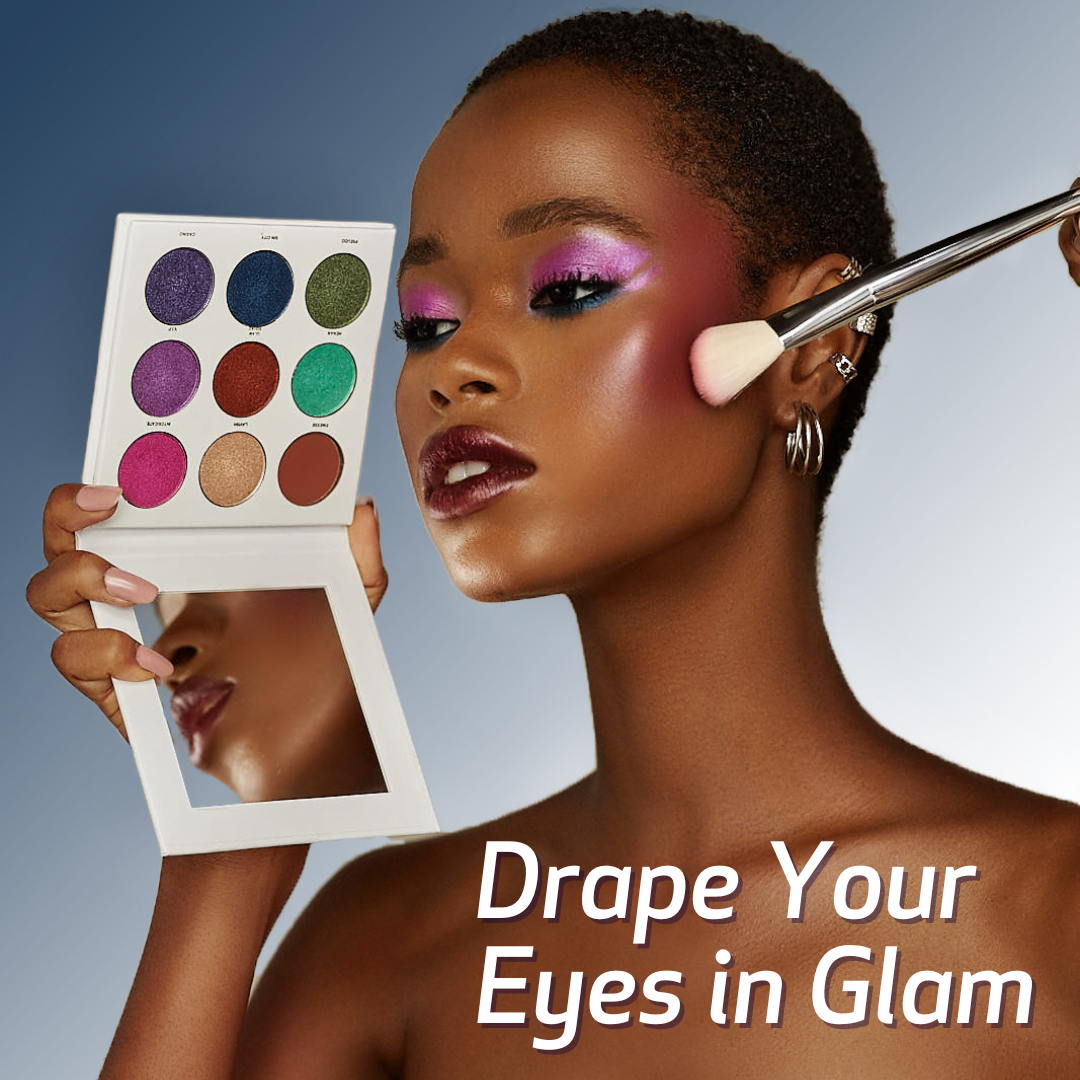
QUICK TIPS: Warm Smoky Eye, No Mud ● Apply a light transition shade first; it's what keeps the look soft instead of harsh. ● Deepen only the outer corner and crease, not the entire lid. ● Blend in small circular motions rather than dragging side to side. ● Swap black liner for a warm-toned shade so the finish stays rich, not flat. ● The COCKAIGNE Eyeshadow Palette carries your transition, crease, and liner shade in one case, so you're not managing three separate products to build the gradient. |

Why Warm Smoky Eyes Turn Muddy Instead Of Moody
Muddiness isn't really a color problem; it's a placement problem. Most people apply their darkest shade first, all over the lid, and try to soften it after the fact. By the time you're blending, you're pushing pigment around instead of building it up, and warm tones turn grey fast when they're overworked that way. Mixing a cool-toned brown with a warm copper in the same blend doesn't help either; the undertones cancel each other out, and the whole eye reads dull instead of rich. Depth comes from layering light to dark in stages, not from piling on one heavy shade and hoping the brush fixes it later.
Do I Need A Separate Primer, Crease Shade, And Liner?
No, and this is the assumption we push back on with clients constantly. The idea that a proper smoky eye requires four or five dedicated products is a shelf-space problem dressed up as a technique rule. We designed COCKAIGNE around the shades a warm smoky eye actually needs and nothing extra: a pale transition tone, a mid copper, a deep espresso-brown, and a warmed-up bronze that doubles as liner when it's picked up wet with an angled brush. One case, four jobs. You lose the primer, the standalone crease shade, and the separate eyeliner pencil without losing the look.

How To Blend A Warm Smoky Eye, Step By Step
1. Sweep the lightest COCKAIGNE shade across the whole lid, from lash line to brow bone, as your base.
2. Work the mid-tone copper into the crease only, using a windshield-wiper motion, not the full lid.
3. Deepen the outer corner and lower lash line with the darkest shade in small circular motions.
4. Blend the line where the crease meets the lid with a clean brush until the transition disappears, with no visible edge.
5. Wet an angled brush and press it into the deepest shade to line the upper lash line, warm, not flat black.
6. Tap a little of the lightest shade just under the brow bone to lift the whole look before you move on.
Build Your Travel Beauty Kit
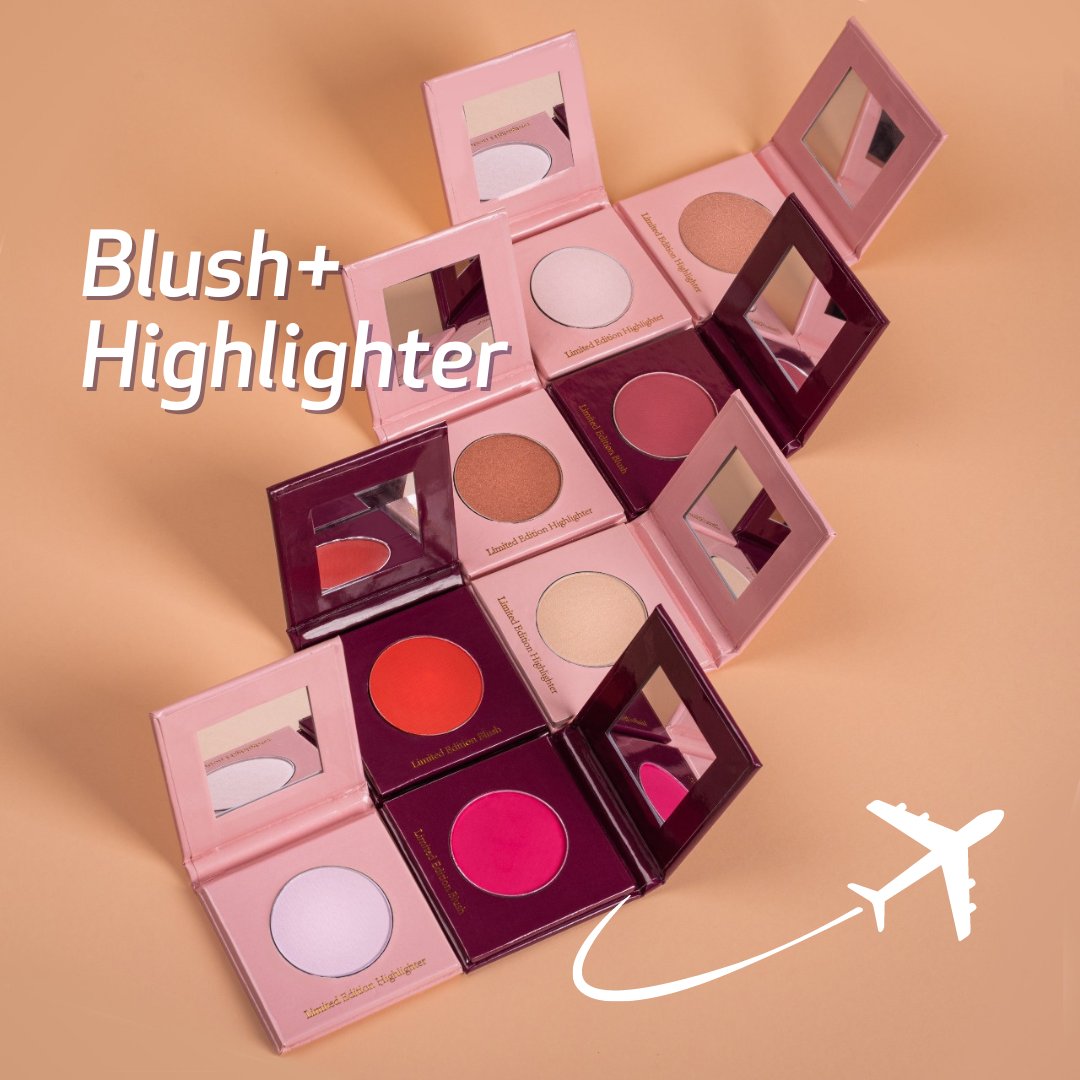
If this is the kind of look you reach for on repeat, it's worth noticing what's actually in your bag to get there. A palette like COCKAIGNE replaces the primer, three separate eyeshadows, and the liner pencil you were carrying on their own, so the kit gets lighter without the look getting simpler. That's the whole point of building routines around fewer, better products instead of restocking the same five-step lineup every time it runs low.
Start with one warm smoky eye, done properly, and see how much space it frees up next to your foundation and lip products. That's a better test of a routine than any product list.
Build Your Travel Beauty Kit →
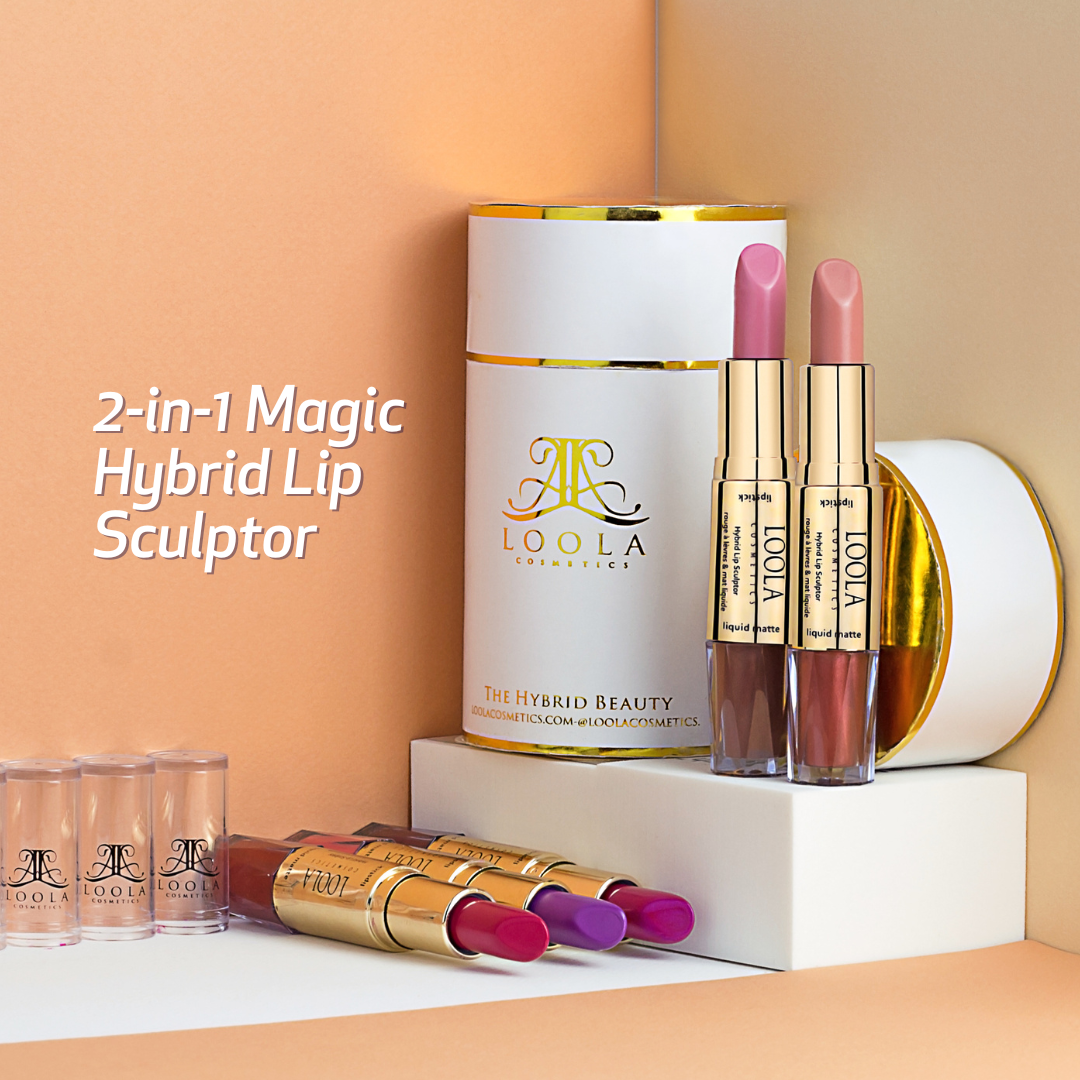
LOOLA Cosmetics — Travel-inspired. Multifunctional. Made for more with less.
Comments