


How to Do a Smoky Eye Without It Looking Messy

The smoky eye has a reputation. Not for being glamorous, everyone knows that part, but for going wrong fast. One second you're blending, the next you're staring at grey smudges that have somehow migrated toward your hairline. That's not a skill gap. That's a technique problem, and it's entirely fixable.
We see this all the time. The smoky eye intimidates people not because it's complex, but because no one explains what blend actually means in practice. Words like, tap, press, sweep, get thrown around like they're self-explanatory. They're not.
And then there's the product overload. Six eyeshadow pots, two brushes, a liner, a primer, a fallout sheet. Most of that is unnecessary. What is necessary is the right palette, the right sequence, and a clear technique.
What Actually Makes a Smoky Eye Look Messy?
Most messy smoky eyes come down to three things: too much product at once, no defined base color, and blending in the wrong direction. Starting with a deep shade straight on the lid, without a transition color underneath, is the fastest route to raccoon eyes. The pigment migrates, the edges go harsh, and nothing looks intentional.
Stopping mid-blend and adding more dark shadow is the second most common mistake. You're chasing fallout with fallout. The result is a look that keeps getting darker and muddier until you're washing everything off and starting again.
The fix isn't more tools or more products. It's a smarter sequence.
QUICK ROUTINE: Smoky Eye in 5 Steps
|
Each step below corresponds to the LOOLA Cosmetics COCKAIGNE Eyeshadow Palette shade sequence. |
|
|
1. |
Prime the lid with a neutral base or concealer |
|
2. |
Dust a medium transition shade across the crease first |
|
3. |
Press the darkest shade onto the center and outer lid |
|
4. |
Blend the edges using the same transition shade with circular motions |
|
5. |
Line the waterline with the darkest shade and smudge outward to close the look |
|
|
|

How to Do a Smoky Eye Step by Step
Step 1 — Start With a Transition Shade, Not the Dark One
This is where most people go wrong, and it's a hard habit to break because the dark shade is usually the most exciting one in the palette. Reaching for it first means you're building depth with no gradient underneath. Instead, dust a medium matte shade (a warm taupe, a cool grey, a soft brown) across the crease and lower lid. This is your blending base. Everything else sits on top of it cleanly.
Step 2 — Layer the Dark Shade on the Lid
Now press the deeper shade onto the lid, focusing on the outer V and center. Press, not sweep. Sweeping drags pigment across your face. Pressing deposits it exactly where you want it. Use your fingertip or a flat brush and work in small, controlled sections rather than one broad stroke.
Step 3 — Blend the Border, Not the Whole Eye
Blending doesn't mean rubbing everything together until it's one uniform shade. Take your transition color again and work it along the edge where the dark shadow meets skin. Circular motions, light pressure. You're softening a line, not erasing it. The goal is a gradient, not a blur.
Step 4 — Define the Lower Lash Line
A smoky eye without something on the lower lash line looks unfinished and slightly off-balance. Use the same dark shade smudged under the eye with a small brush, or tight-line the waterline to close the look. This grounds the eye and makes the color wrap around rather than sitting flat on the lid.
Step 5 — Clean Up and Set
Fallout is real. Before you touch anything else on your face, swipe a clean brush along the cheekbone to dust away any stray powder. Then press a small amount of translucent or setting powder under the eye. This locks the lower shadow in place and prevents creasing for the rest of the day.

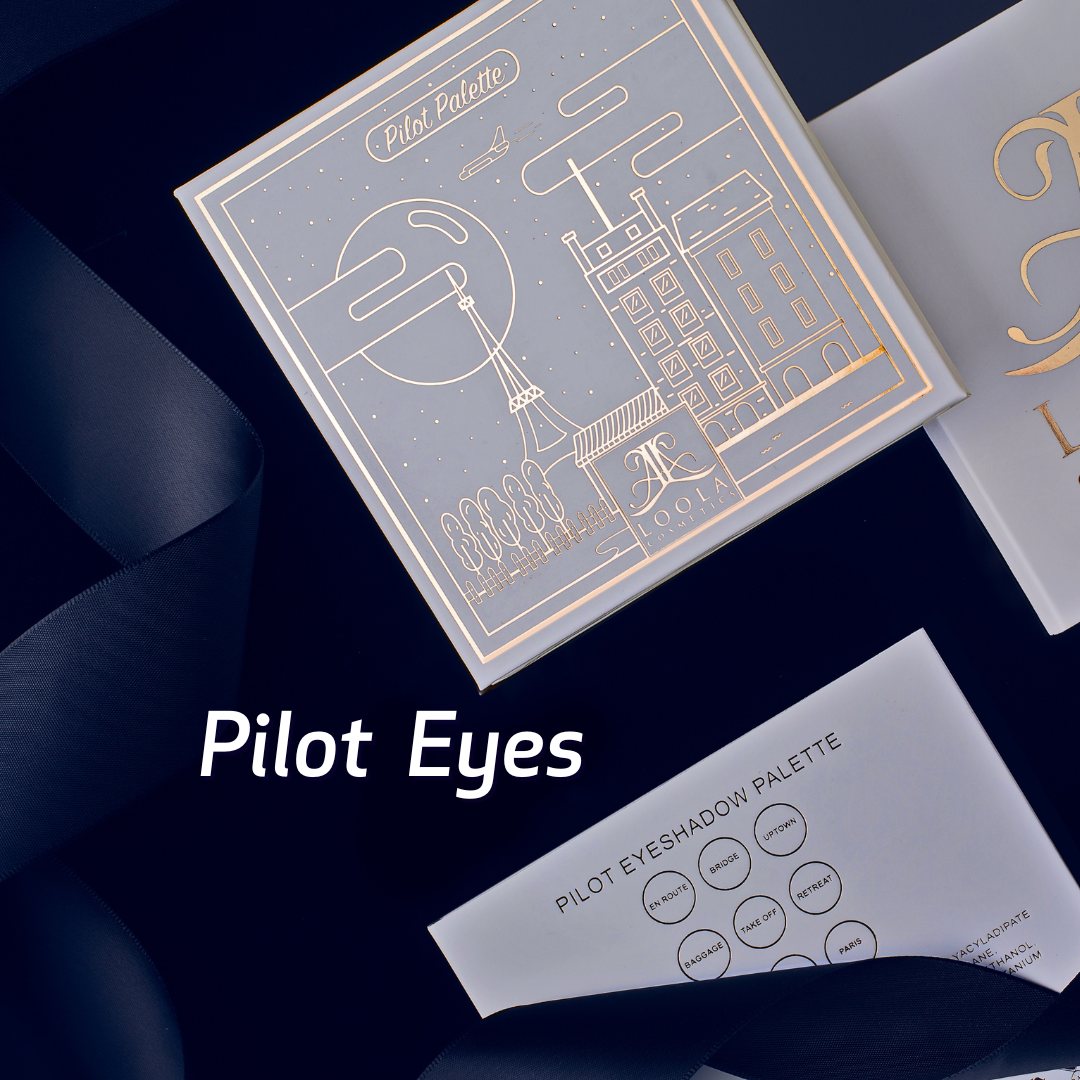
One Palette, Five Steps: Where COCKAIGNE Fits In
Here's an honest moment: we built the COCKAIGNE Eyeshadow Palette because we were tired of watching customers carry six individual pots just to assemble one eye look on the road. That's not a routine. That's a project.
We designed COCKAIGNE around the exact sequence described above. Rather than filling it with thirty shades that feel comprehensive but offer no real direction, we curated a progression (transition shades, buildable midtones, concentrated deeps) that guides your application without requiring a makeup artist's eye to decode. Everything needed for the smoky eye above lives in that one palette. The transition color, the lid shade, the liner depth. The highlight to finish.
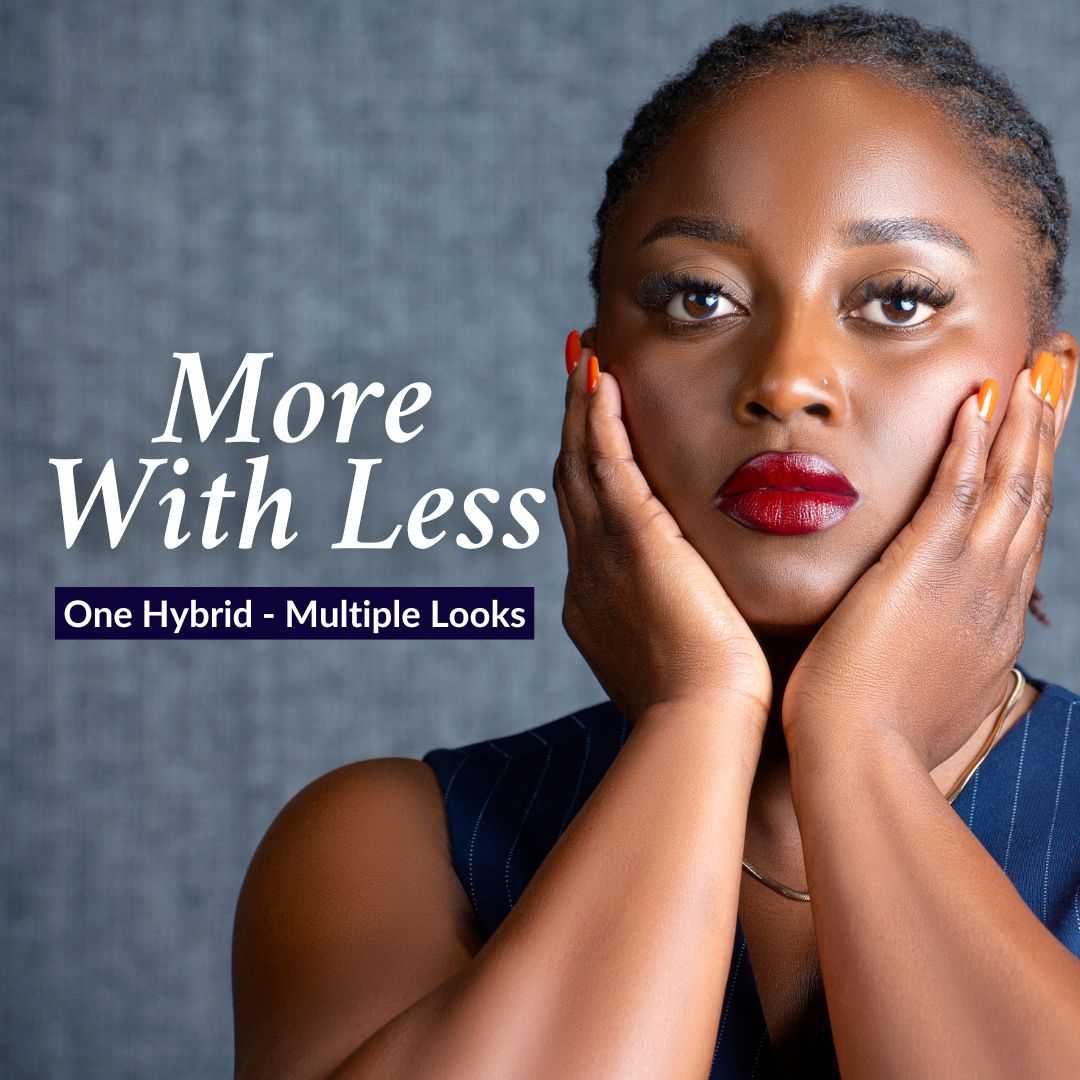
When we talk about "more with less" at LOOLA Cosmetics, this is what we mean in practical terms: fewer decisions in the morning, fewer items in your bag, and a result that looks like you thought about it.
Do I Really Need a Different Palette for Every Look?
No. And we say that as a brand that sells palettes.
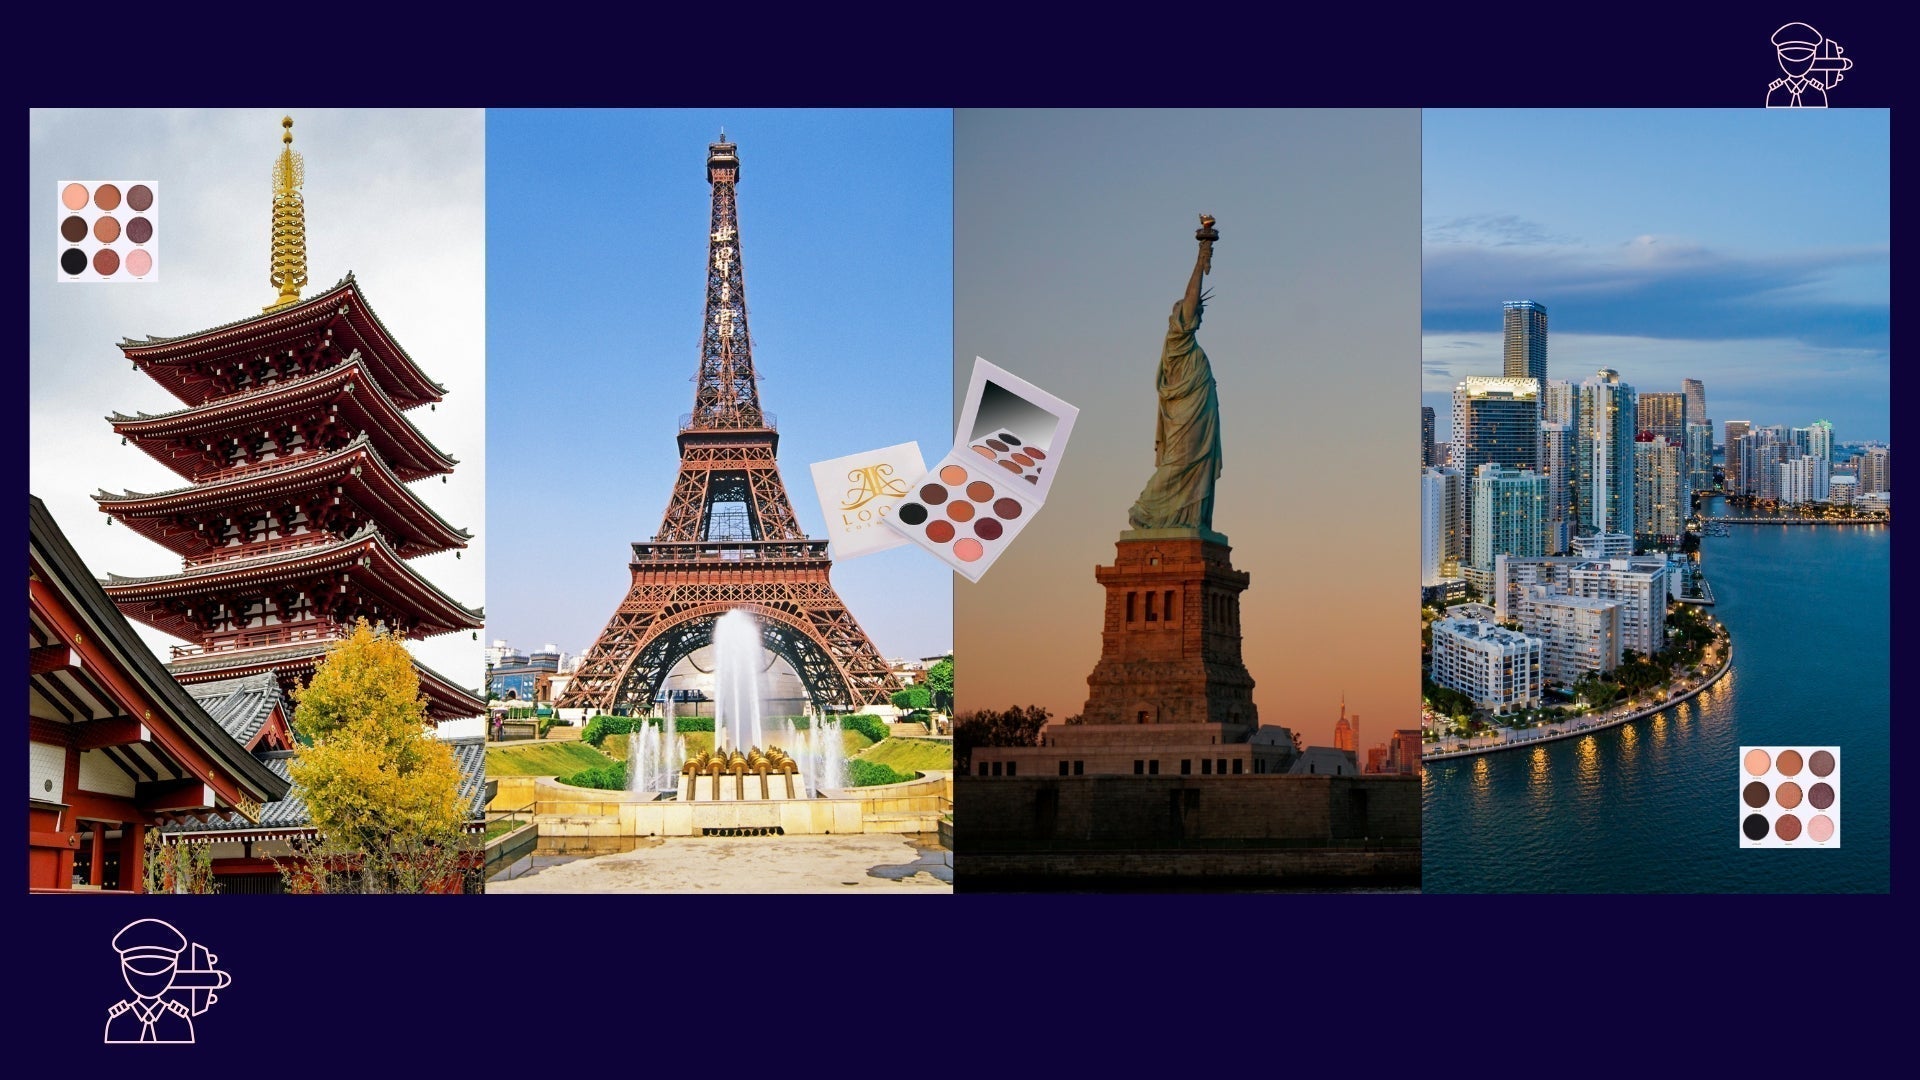
Variety isn't the problem. Lack of technique is. The smoky eye, a soft wash of color, a defined crease, all of these come from the same set of shades applied in different sequences and concentrations. A curated palette like COCKAIGNE gives you that range without the clutter of single-shade pots multiplying across your vanity, your carry-on, your desk drawer, and your gym bag.
We hear from customers who pack four or five palettes on trips because one never feels like enough. It usually means the shades aren't working together, or the routine isn't flexible. The technique above works with any of the deeper COCKAIGNE shades depending on whether you want a warmer amber smoke or a cooler steel one. Same steps, different result. That's versatility.
Build Your Travel Beauty Kit
|
If your makeup bag has started to feel like a commitment, the smoky eye is actually a good place to simplify. One palette, one sequence, one less thing to overthink on the way out the door. The COCKAIGNE Eyeshadow Palette from LOOLA Cosmetics is designed to be the palette that handles your everyday look, your travel look, and your evening look without asking you to carry three different kits to get there. Shop the COCKAIGNE Eyeshadow Palette at loolacosmetics.com and start building a kit that actually travels with you. |


Comments